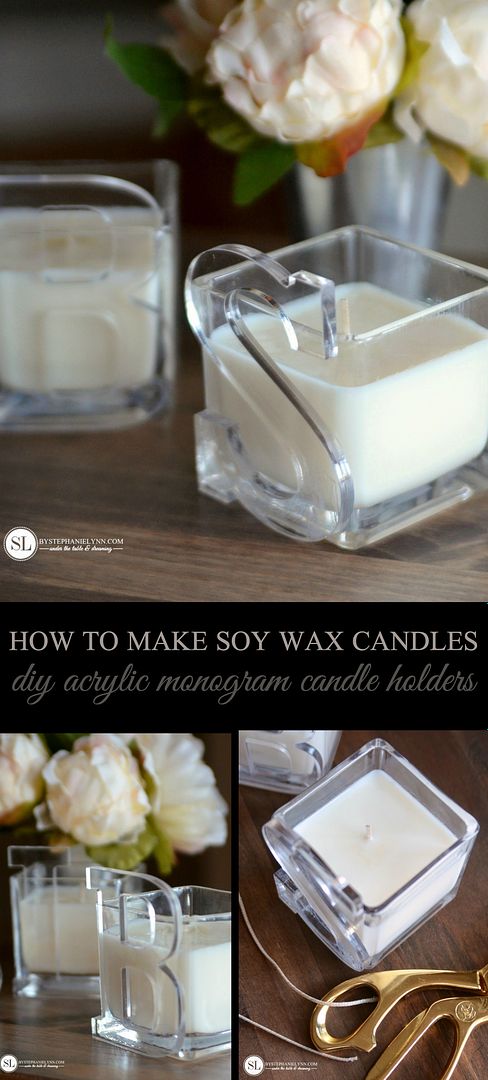
Make Easy Soy Wax Candles | diy personalized candle holders #michaelsmakers
Candles are one of my most favorite decorating accessories. They are such an easy way to personalize your space – from the stylish containers to the amazing scents. And lets not forget the dramatic impact of being surrounded by the warm, cozy ambiance.
I keep a candle in almost every room of my home.
Making your own candles is such a rewarding process – especially when you get to create your own scent and container combinations. It has been a couple of years since I have pulled out my own candle making supplies. To be honest, I really did not even have to, using the simple four-step tutorial below.
There are just a few supplies needed to Make Easy Soy Wax Candles.
They are much easier than you would even think.
Soy Wax Flakes  are used for this tutorial – which can be melted right in your kitchen microwave. A candle thermometer (or even a candy thermometer) is fanciest ‘equipment’ you will need.
There are many benefits to using soy wax. It burns much longer than paraffin and cleaner,
with very little soot
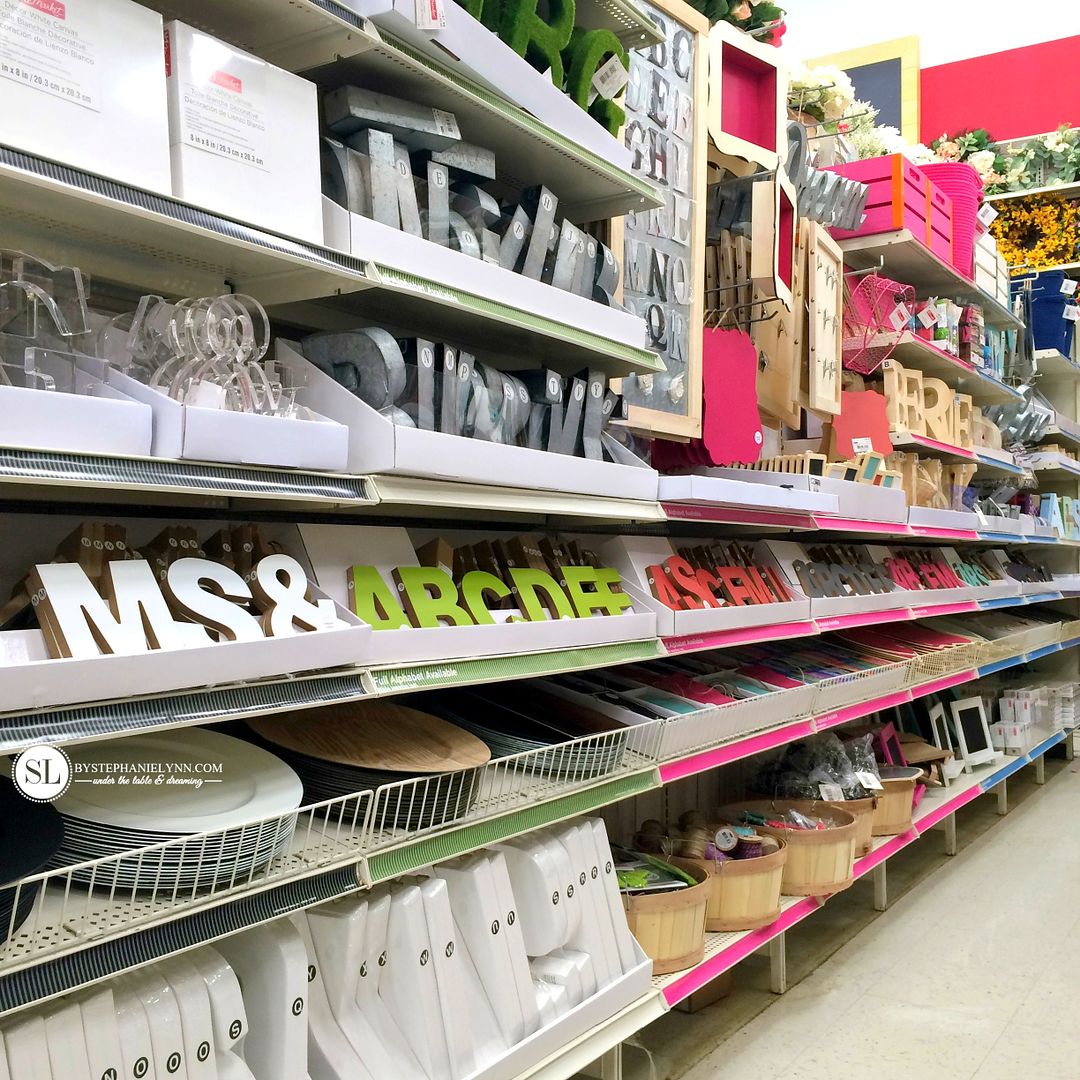
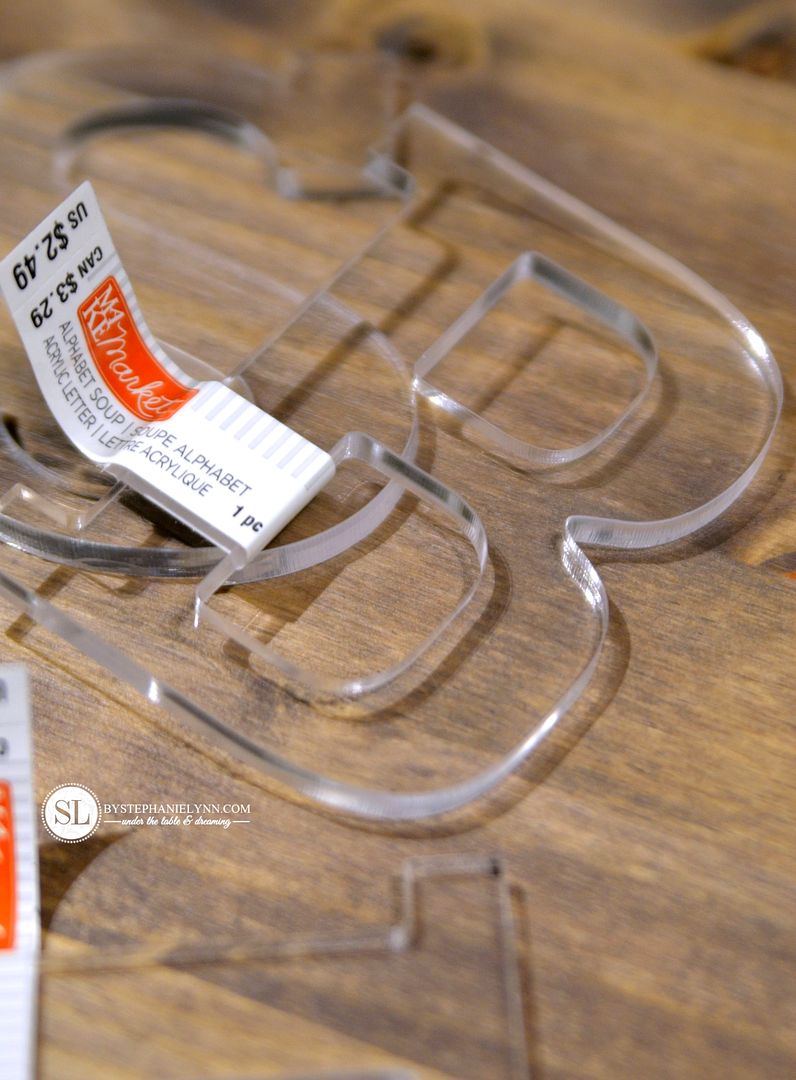
For the containers I dressed up a couple of plain 3 inch square glass holders with acrylic letters from Michaels. I love the simplistic look of the acrylic against the glass.
The acrylic letters remind me of some of the lucite decor items trending in home decor right now –
I used the smaller 4 inch letters for the candle holders, which are sold in-store.
The 3 inch square glass containers were found in-store as well, in the vase section.
Elmer’s ProBond Advanced  was used to adhere the letter to the glass. This particular glue works well on smooth surfaces and dries clear.
Additional Supplies Needed: Glue Gun, Microwavable Container, Stirrer (we used a
wooden craft stick), Microwave,
Washi Tape (for securing wicks)
 Step One:
 Prepare the candle cups and set the wicks.
If using glass clean and comepletly dry the containers.
Choose the appropriate wick type and size for your containers. Candle wicks are determined by the type of wax you are using and the diameter of your container – measured at the widest width. If using pre-packaged wicks with clips, this information should be noted on the packaging.
Use a dab of hot glue on the bottom of the wick clip and set the wick in the center of the container.
 Step Two:
 Measure out the soy wax flakes. The flakes melt in half, so you will need double the container size for the correct amount of wax.
Our soy wax flakes were purchased in-store at Michaels. These are made by ArtMinds and run $8.99 for a one pound box. If you are looking to make a larger quantity of candles, or are not located near a store,
this 10 pound bag online is a good value.
Note: If you are unsure of the container size, fill the container with water and pour it into a measuring cup to calculate the wax needed. A one cup candle container will need two cups of wax.
Place the wax flakes into a microwaveable container and microwave for approximately 4 minutes. Make sure you keep an eye on the container as it heats and remove it from the microwave as soon as all of the wax flakes are melted.
The melting time may vary and depends on the microwave you are using. To prevent overheating, it is important to keep an eye on the wax as it melts and remove the container from the microwave as soon as all of the wax flakes have liquified.
 Step Three:
 Add Fragrance (optional).
Fragrance should be added to the melted wax when the wax reaches 185°F. As a general guideline use 1 ounce of fragrance for 1 pound of wax.
 Step Four:
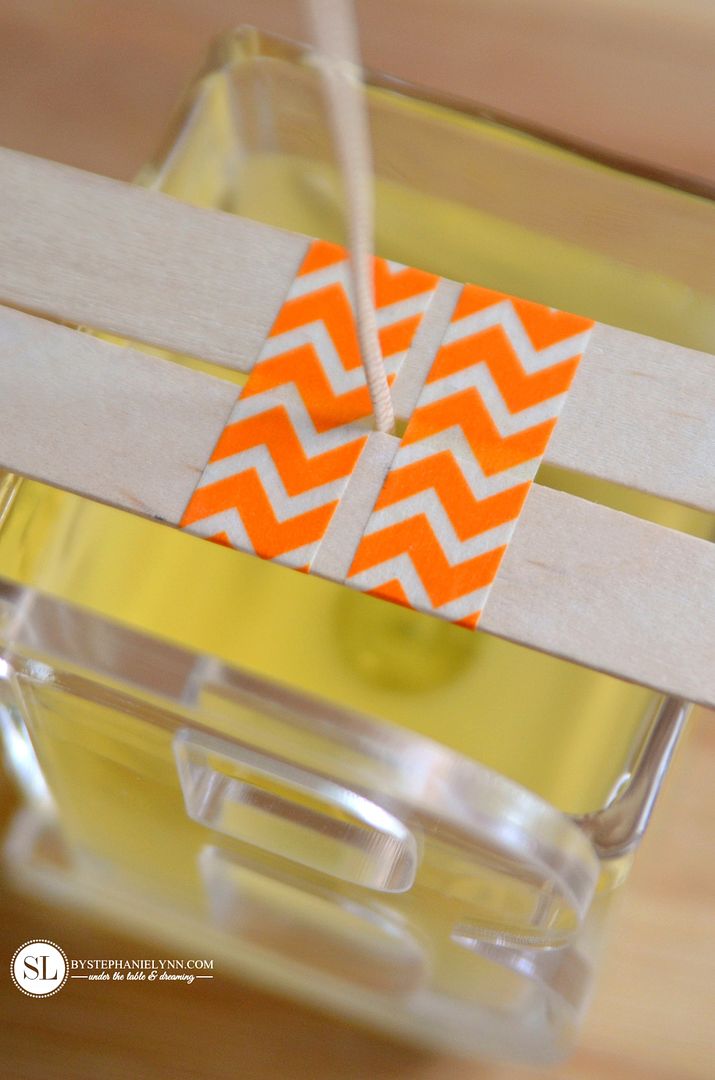
 Pour wax and set wick.
Once the wax cools to a temperature of 120°F it is ready to pour into the containers.
To help keep the wick straight and centered we used two wooden craft sticks and some washi tape – as shown above.

Let the candles cool at room temperature overnight. Trim the wick to a 1/4 inch.
For maximum scent throw, let the candles completely cure for 1-2 week prior to burning.
These already smell so good just sitting around.
What scent would you use for your own custom candles?